5. Dapp on Starknet
WTF Starknet 5: Starknet dApp
Work in Progress...
You will learn how to use get-starknet and starknet-react to build a simple dApp for minting NFTs on Starknet.
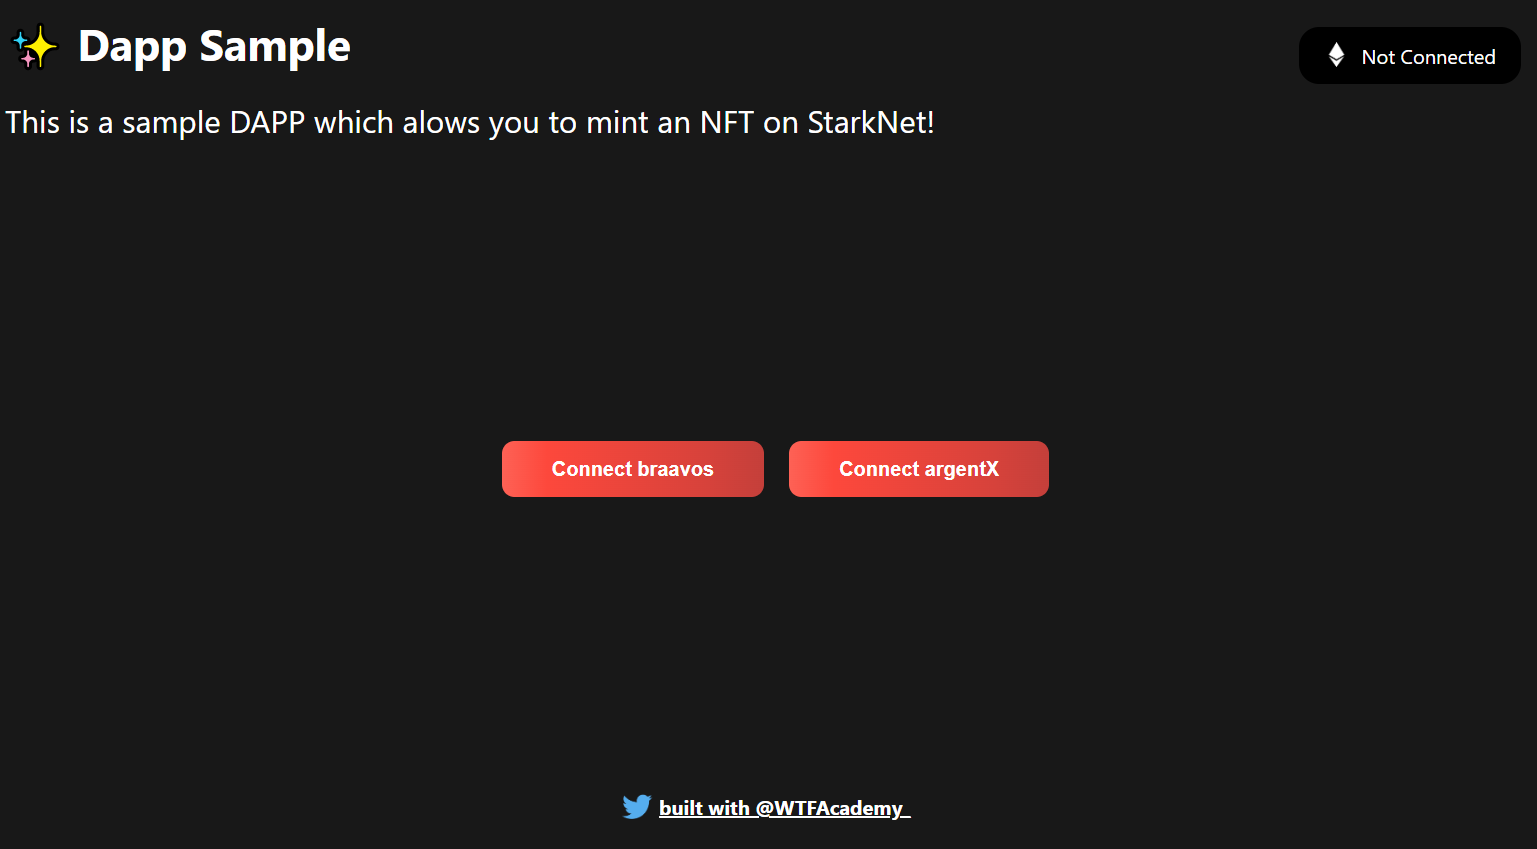
A demo
get-starknet
get-starknet provides a JavaScript library that provides a set of APIs for interacting with the Starknet network. Developers can install the get-starknet library using npm, and then use it in their JavaScript code to deploy and manage contracts on the network, as well as call functions and query data from existing contracts. The library provides a set of functions and classes for tasks such as compiling contracts, deploying contracts, and interacting with the network.
1. Install
To install the get-starknet library, you will need to have Node.js installed on your system, then follow these steps:
To initialize an npm project:
- Open a terminal window or command prompt.
- Navigate to an empty directory where you want to initialize an npm project.
- run the following command:
npm init -y
This will start a command-line interface that will guide you through the process of creating a package.json file. You will be prompted to enter various settings for your project, such as its name, version, description, and entry point.
To install get-starknet:
- Navigate to the project directory where you want to install the library.
- Run the following command to install the
get-starknetlibrary:
# using npm
npm install get-starknet starknet@next

# (alternative) using yarn
yarn add get-starknet starknet@next

# (alternative) using pnpm
pnpm add get-starknet starknet@next
That's it! You should now be able to use the get-starknet library in your project.
2. Basic Usage
You can use the built-in UI to connect to any Starknet wallet as fast as possible like this:
import { connect, disconnect } from "get-starknet"

return <button onClick={() => connect()}>Connect wallet</button>
Here's an advanced example of react with get-starknet:
function App() {
  const [walletName, setWalletName] = useState("")

  function handleConnect(options?: ConnectOptions) {
    return async () => {
      const res = await connect(options)
      console.log(res)
      setWalletName(res?.name || "")
    }
  }

  function handleDisconnect(options?: DisconnectOptions) {
    return async () => {
      await disconnect(options)
      setWalletName("")
    }
  }

  return (
    <div className="App">
      <h1>get-starknet</h1>
      <div className="card">
        <button onClick={handleConnect()}>Default</button>
        <button onClick={handleConnect({ modalMode: "alwaysAsk" })}>
          Always ask
        </button>
        <button onClick={handleConnect({ modalMode: "neverAsk" })}>
          Never ask
        </button>
        <button
          onClick={handleConnect({
            modalMode: "alwaysAsk",
            modalTheme: "dark",
          })}>
          Always ask with dark theme
        </button>
        <button
          onClick={handleConnect({
            modalMode: "alwaysAsk",
            modalTheme: "light",
          })}>
          Always ask with light theme
        </button>
        <button onClick={handleDisconnect()}>Disconnect</button>
        <button onClick={handleDisconnect({ clearLastWallet: true })}>
          Disconnect and reset
        </button>
      </div>
      {walletName && (
        <div>
          <h2>
            Selected Wallet: <pre>{walletName}</pre>
          </h2>
        </div>
      )}
    </div>
  )
}
In contrast to starknet-react, which is a higher-level library that provides a set of React Hooks for working with Starknet, get-starknet is a lower-level library that provides direct access to the Starknet APIs. This makes it a more flexible and customizable solution, but also requires more knowledge of the Starknet platform and its APIs.
get-starknet is a useful library for developers who are familiar with the Starknet platform and want more control over their development process. However, for those who are new to Starknet or want a simpler development experience in React ecosystem, starknet-react may be a better option.
starknet-react
The starknet-react library includes a set of pre-built hooks for common tasks such as loading contract data, submitting transactions, and managing the user's wallet connection state, which is built on top of the get-starknet library. These hooks abstract away some of the lower-level details of interacting with Starknet, and allow you to focus on building your user interface.
starknet-react provides a set of React Hooks that make it easier to interact with the Starknet network in a React application.
1. Install
Install starknet-react and its dependencies using the following command:
npm install @starknet-react/core get-starknet starknet
2. Usage
Before using hooks of starknet-react, you need to import following statements to _app.jsx file.
import { StarknetConfig, InjectedConnector } from '@starknet-react/core'
Then edit the application component to include the Starknet provider.
function AppContainer({ Component, pageProps }) {
  const connectors = [
    new InjectedConnector({ options: { id: 'braavos' }}),
    new InjectedConnector({ options: { id: 'argentX' }}),
  ]
  return (
    <StarknetConfig connectors={connectors}>
      <App {...pageProps} />
    </StarknetConfig>
  )
}
3.Hooks
useAccount
useAccount allows you to access the AccountInterface object provided by current wallet like Argent X or Braavos.
Examples:
function GetWallet() {
  const { account, address, status } = useAccount()

  if (status === 'disconnected') return <p>Disconnected</p>
  return <p>Account: {address}</p>
}
useConnectors
useConnector provides ways to interact with the connectors. Please notice that the available connectors are computed as soon as the hook is rendered, which could happen before the browser wallets had the opportunity to inject themselves in the page. You should periodically refresh the available connectors.
Example:
function ConnectWallet() {
  const { connect, connectors, disconnect, available, refresh } = useConnectors()

  useEffect(() => {
    // refresh all available connectors every 5 seconds
    const interval = setInterval(refresh, 5000)
    return () => clearInterval(interval)
  }, [refresh])

  return (
    // connect wallet
    <ul>
      {available.map((connector) => (
        <div key={connector.id()}>
         <button key={connector.id()} onClick={() => connect(connector)}>
          Connect {connector.id()}
         </button>
        </div>
      ))}
    </ul>
    // disconnect wallet
    <div>
        <button onClick={disconnect}>Disconnect</button>
    </div>
  )
}
useStarknetExecute
useStarknetExecute is used to interact with contracts on Starknet and send multicall transactions.
Example:
function ExecuteTransaction() {
  const { address } = useAccount()
  const [count, setCount] = useState(0)

  // define calls
  const calls = useMemo(() => {
    const tx = {
      contractAddress: ethAddress,
      entrypoint: 'transfer',
      calldata: [address, 1, 0]
    }
    return Array(count).fill(tx)
  }, [address, count])

  // execute transaction
  const { execute } = useStarknetExecute({ calls })

  return (
    <>
      <p>Sending {count} transactions</p>
      <p>
        <button onClick={execute}>Execute</button>
      </p>
    </>
  )
}
Summary
In this tutorial, we introduced how to use get-starknet and starknet-react to build dApps on Starknet.